Now it’s hot placement season right! Do your fellow companies asking you to submit your resume, your professional passport size photo with coat and tie? Yes, I must go to some good studio to make my own photo professionally. It is not a Big deal to make yours. Use Photoshop and make your photo professional within minutes. By this tutorial, we will teach you. how to merge, select and re-size your photo to merge it with coat and tie.

Things you should have:
- Photoshop Software.
- Your Passport size photo.
- Some patience to read this article completely
Things we used:
- Sample Passport size photo.
- Another Passport size photo with Coat and Tie.
Convert your Ordinary Passport Size Photo to Professional with Coat and Tie
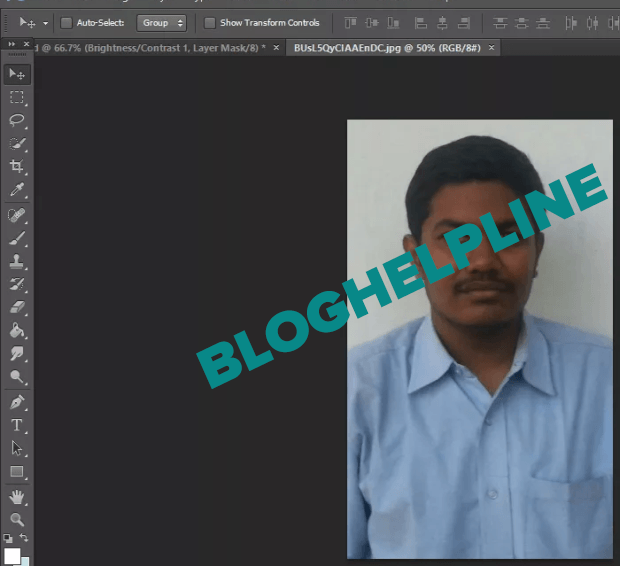
Step #1: Open the Photoshop software in your PC. Here, I am using Photoshop CS6.

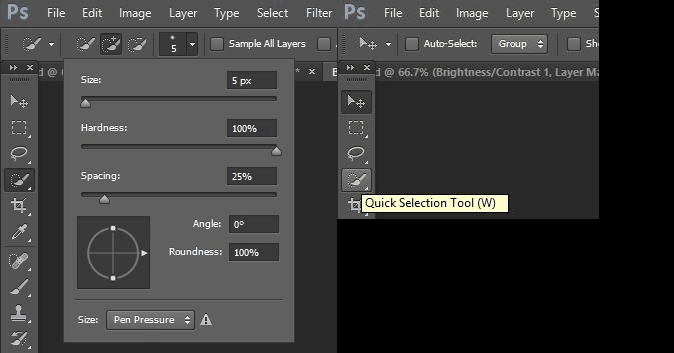
Step #2: Open your Passport size photo. Click the Quick Selection Tool and reduce the radius size to 5px in Approx. Adjust the radius size based on your needs.
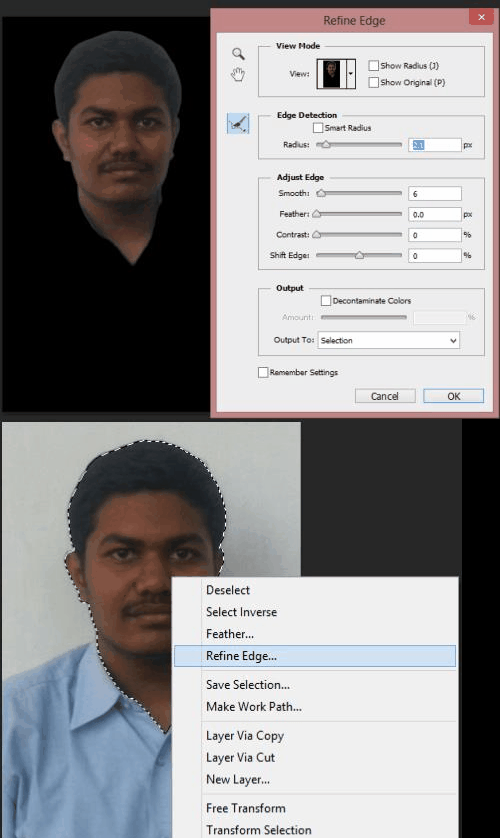
Step #3: Start selecting your face from your photo. In this selection process there is another tip to make a perfect selection. Right Click your selected region in Photo. Select Refine Edge. Do the Adjustments to obtain a perfect selection.

Step #4: Repeat the Step #2 and Step #3 to remove the Head portion and get the “Coat and Tie” alone.
Step #5: Get both of the photos in separate Layers.
Step #6: Re-size the head portion of yours to correctly merge with the Coat and Tie.
Step #7: Adjust the Brightness/Contrast to make it so natural. That’s all! Insert a new Layer for Background color on your needs.
Note: Click here to download the .PSD file of Professional Passport size Photo with Coat and Tie to make your Job simple and greater accuracy.


kishan rajput
So lucky